Menu

Showing posts with label applique. Show all posts

Tuesday, August 18, 2020

Bee Happy!

Bee Happy is a fun little wall hanging that gives off the feeling of a fun and bright spring ahead.

This wall hanging measures approximately 18" wide by 23" tall. When you use a bright sky blue as a background, it allows for your watering can, flowers and bee to be the beautiful focus of your wall hanging. 

Thursday, June 11, 2020

Raw Edge Machine Applique


A few basics for Raw Edge Applique using your Sewing Machine

This tutorial assumes you have already fused your applique fabric to the background fabric. For this tutorial, I will be using several different template shapes to show you layers, curves, corners, and other such techniques.

Machine Applique

These directions are written to show you how to use the Satin Stitch.

The major difference when using satin stitch and blanket stitch; a stabilizer is needed to keep the fabric from puckering when using a satin stitch.  If you wish to use any other fancy stitch, omit the steps for stabilizers.


Monday, September 17, 2018

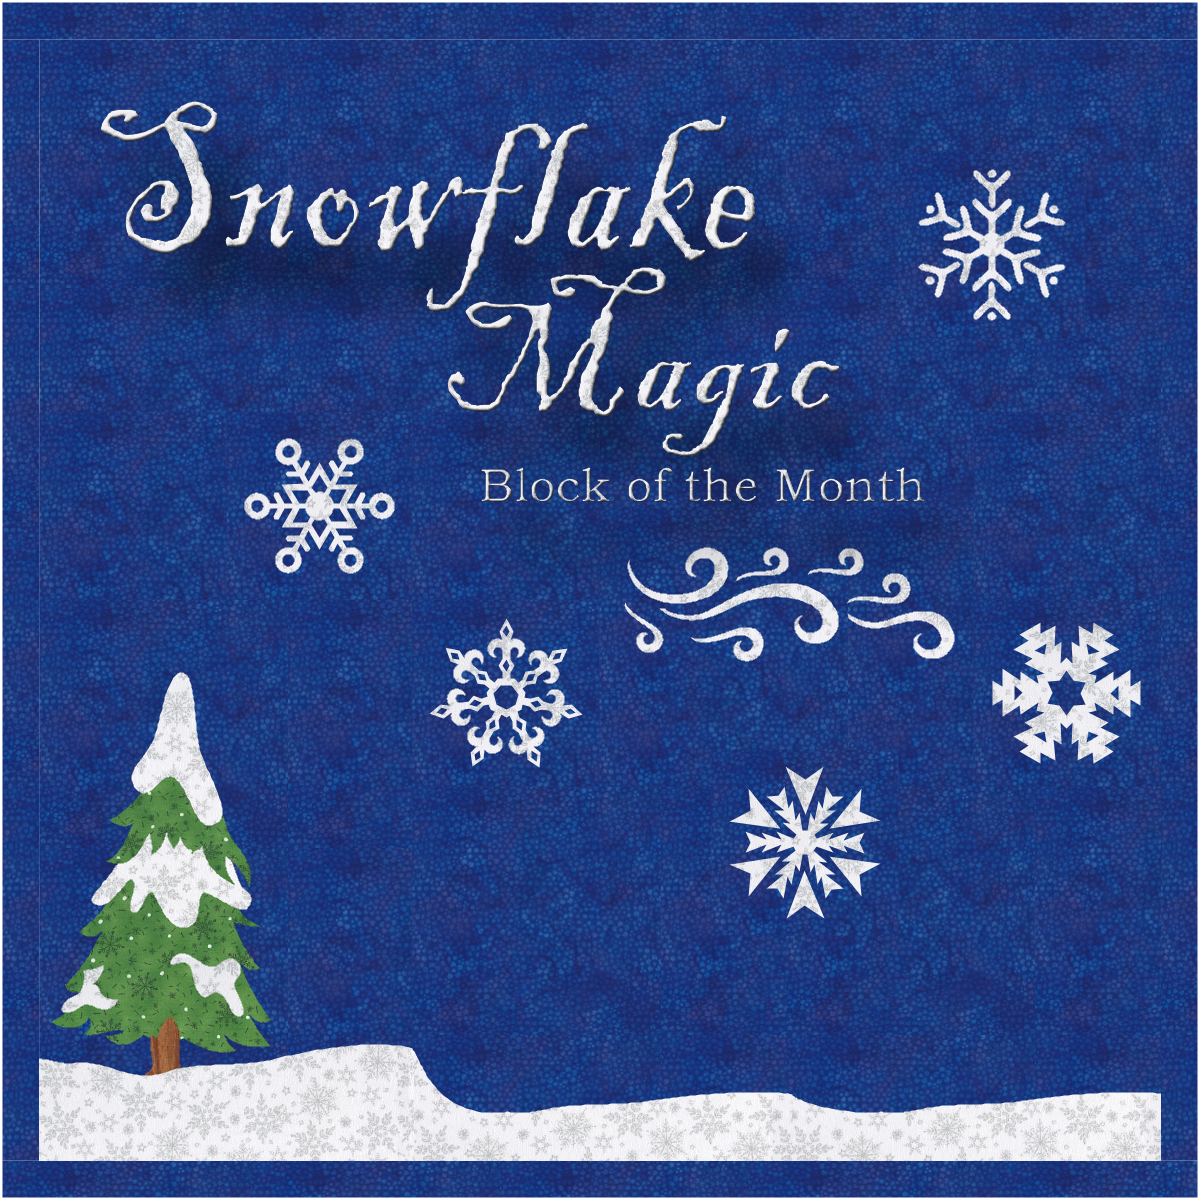
Snowflake Magic Block Of the Month

I was so excited to be hosting a Block Of the Month! My very first, a success! Now that it is complete, I wanted to share some of the new and exciting things that happened!


This BOM made a quilt top that measures 55" by 60" tall. This large wall hanging has 24 different snowflakes and three different sized trees, all made using a raw edge applique with a machine satin stitch. AND each of the snowflakes has a name!

BOM Finished Wallhanging Quilt Top
Applique! I know many starts to panic at the mention of applique, but at the same time I was hosting this BOM, I was also teaching everyone how to satin stitch applique with a sewing machine. There was immediate assistance whenever one got stumped! - and you can still get help now if you wanted!

Friday, December 15, 2017

Teacup Coasters Supply List

Supply list and fabric suggestions
for class at
Aunt Judy's Attic
for
Teacup Coasters
Raw Edge Applique


Sunday, November 26, 2017

Rhoda's Tea Time Quilt Pattern

This pattern was inspired by my dear friend, Rhoda Forbes, who had passed away unexpectedly in the early part of the year of 2017. As a way to help mourn the loss of our friend, and more importantly, remember what a wonderful person she was, I created this pattern and hosted a Rhoda's Tea Time Swap in the online quilting group she created: Life's A Quilt 


She was always thinking of projects to keep us busy and loved to host swaps. For Rhoda, it was a way for us group members to get to know one another, a fantastic way to learn a new skill or highlight a new pattern. Rhoda had mentioned several times how she wanted to host a Teacup Swap. She imagined it all; a large teapot surrounded by teacups. She even had an image of teacups stacked with a bird perched on the stack. 


Dedicated in Memory of Rhoda Forbes, this pattern was designed around a few of her favorite things. Her favorite colors are Purple and Pink. She loved making scrappy quilts and she loved to grow her flower garden.


Sunday, September 11, 2016

Prairie Sunflower Dresden Plates


Lately, I've had quite a fascination with Dresden plates... I had been dying to make a sunflower dresden block quilt, which I had the perfect opportunity when I was participating in a Mystery Adventure called Caroline's Cabin hosted by Bev Brummond.


I had always wanted to make a black, white and yellow quilt. Perfect opportunity!
The best thing about this mystery was the adventure of reading a short story tied into the mystery pattern. We were given a piece of the adventure before each of the clues. My first mystery adventure!

With any mystery, one just HAS to try possible layouts after each of the clues...


When time for the next clue came around, I just knew it was the perfect opportunity to play with dresdens!

Of course, I've never been known to follow a pattern, not even my own - so I took off on a tangent with my flower garden from the mystery.


I set to work creating the twenty flowers needed to finish my quilt.
As part of the mystery, we were encouraged to name our flowers. I always love it when there is a deeper meaning to a quilt. Out here in Southern New Mexico, we have these wild sunflowers called Prairie Sunflower.

So it seemed only fitting to name my flowers the Prairie Sunflower, Native to New Mexico and Colorado - helianthus coloradensis.

It took me a while as I was trying to grow my sunflowers in side my log cabin. I live in the mountains and our growing season is short. I had them all planted, I just needed a little watering (sewing) to make them grow.... <--Silly shenanigans we do while we are giving updates on our sewing projects...

Final quilt top layout.


Click here to download your copy of the Double Dresden Flower Pattern.


Tuesday, March 8, 2016

Southwest New Mexico Sunrise

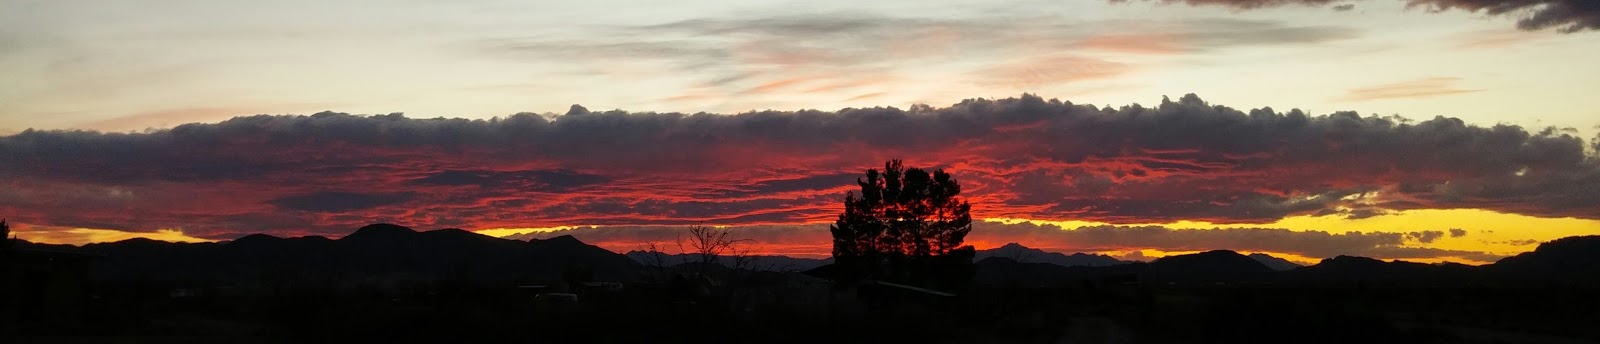
The sunrises and sunsets here in New Mexico are some of the best. They are so full of color and shapes and so fun to watch as they change. Mother nature is fueling my need/want to learn landscape quilting. So, while looking and waiting for some sort of formal training, I thought I would jump in and see what I could do.

To purchase a windmill applique template, click here...

I have been collecting pictures of my sunrises and sunsets, hoping they could inspire me to create.. I wasn't wanting to overwhelm myself with tackling a large task on my first try, I thought to make a small wall hanging.
Sunrise, Silver City New Mexico
Sunset, Alamogordo New Mexico
Sunset, Cotton City New Mexico
I started by pulling all the colors out of my fabric stash, any fabric I thought might go with. Also used my son's help. :)

I sorted through the fabrics I picked and left some behind. Some just were too different and didn't blend as well. I cut strips of fabric measuring 1 1/4" wide.

Drew out my windmill and scanned it into the computer so that I could enlarge it to the size I wanted it to be. It also makes it easier to transfer the image onto my heat n bond light.

I knew I wanted a bright center for my sun and for my radiant to darken as it traveled and for it turn into shades of blue/purple as it went out. I really tried hard to be random in my strip lenght, but I think the majority of the pieces ended up being cut at 2 1/2".

I arranged each piece as I cut, and cut until I thought I had enough.

I started sewing at one corner, getting excited as I went along, because it was really shaping up to be a cool sunrise.

Slightly before I reached the halfway point, I realized my piecing was starting to take the shape of a diamond and not the square like I had originally intended.

I cut up more pieces, used the seam ripper to take out a couple of stitches on the beginnings and ends of my rows, added more strips to each row that was short.

Once it was all pieced, I squared it up with my black piece laying on top. Sewed a curved line to piece the sunrise and black foreground together.


I appliquèd my windmill onto the top, used a satin stitch on my machine to hold it down.

Once sandwiched, I tried a little thread painting for the 'weeds' and used some varagated thread to quilt the sunrise.

Bound in black and added corners on the back so that I could stick a dowel rod in and hang it up.

Really like the way it turned out.

Since I made the above windmill, I've made a couple of other windmill layouts that I just absolutely love also. This little runner was made for a dear friend who donated to our Cotton City Area Rocketry Club so that we may have facilities available to us while we watch the rockets launch. It was such a simple project. The windmills were my design, leftover laser cut outs from Row by Row Experience 2016 Home Sweet Home. (Purchase the laser cut outs here - approximately 2.5" wide by 5.5" tall ...)

 I did my best to capture the Animas Mountains, since they had made their home in the Animas Valley for many years. Her late husband spent his career building windmills all over the state.


Made for a cute basket!!


Another use of the windmill was to make a wall hanging for my friend who just loves WINDMILLS and PURPLE.

I happened to have a fat quarter of this purple/pink wash fabric that I used in my Row by Row 2017 quilt and it was just perfect to use as a skyline for the windmill.

My friend often goes on a wander and takes photos of the unique finds she comes across. I thought it was the PERFECT addition when I saw she took a picture of a lonely fence post... it was perfect to go with her windmill.