
To purchase a windmill applique template, click here...

I have been collecting pictures of my sunrises and sunsets, hoping they could inspire me to create.. I wasn't wanting to overwhelm myself with tackling a large task on my first try, I thought to make a small wall hanging.
 |
| Sunrise, Silver City New Mexico |
 |
| Sunrise, Silver City New Mexico |
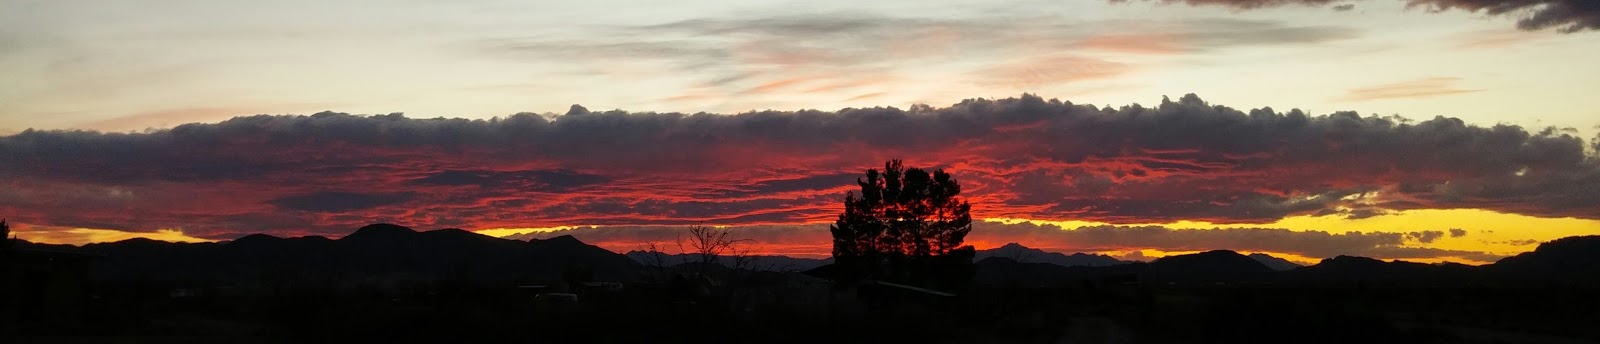
 |
| Sunset, Alamogordo New Mexico |
 |
| Sunset, Cotton City New Mexico |

I sorted through the fabrics I picked and left some behind. Some just were too different and didn't blend as well. I cut strips of fabric measuring 1 1/4" wide.


Drew out my windmill and scanned it into the computer so that I could enlarge it to the size I wanted it to be. It also makes it easier to transfer the image onto my heat n bond light.
I knew I wanted a bright center for my sun and for my radiant to darken as it traveled and for it turn into shades of blue/purple as it went out. I really tried hard to be random in my strip lenght, but I think the majority of the pieces ended up being cut at 2 1/2".

I arranged each piece as I cut, and cut until I thought I had enough.

I started sewing at one corner, getting excited as I went along, because it was really shaping up to be a cool sunrise.


I cut up more pieces, used the seam ripper to take out a couple of stitches on the beginnings and ends of my rows, added more strips to each row that was short.

Once it was all pieced, I squared it up with my black piece laying on top. Sewed a curved line to piece the sunrise and black foreground together.


I appliquèd my windmill onto the top, used a satin stitch on my machine to hold it down.
Once sandwiched, I tried a little thread painting for the 'weeds' and used some varagated thread to quilt the sunrise.

Bound in black and added corners on the back so that I could stick a dowel rod in and hang it up.
Really like the way it turned out.
Since I made the above windmill, I've made a couple of other windmill layouts that I just absolutely love also. This little runner was made for a dear friend who donated to our Cotton City Area Rocketry Club so that we may have facilities available to us while we watch the rockets launch. It was such a simple project. The windmills were my design, leftover laser cut outs from Row by Row Experience 2016 Home Sweet Home. (Purchase the laser cut outs here - approximately 2.5" wide by 5.5" tall ...)


Made for a cute basket!!

Another use of the windmill was to make a wall hanging for my friend who just loves WINDMILLS and PURPLE.
I happened to have a fat quarter of this purple/pink wash fabric that I used in my Row by Row 2017 quilt and it was just perfect to use as a skyline for the windmill.
My friend often goes on a wander and takes photos of the unique finds she comes across. I thought it was the PERFECT addition when I saw she took a picture of a lonely fence post... it was perfect to go with her windmill.


These are really beautiful. Your sunrise quilt has inspired me to make one of my own!
ReplyDeleteSo cool! I'm happy to inspire!
Delete